 Chelsea FaithNovember 11, 2023
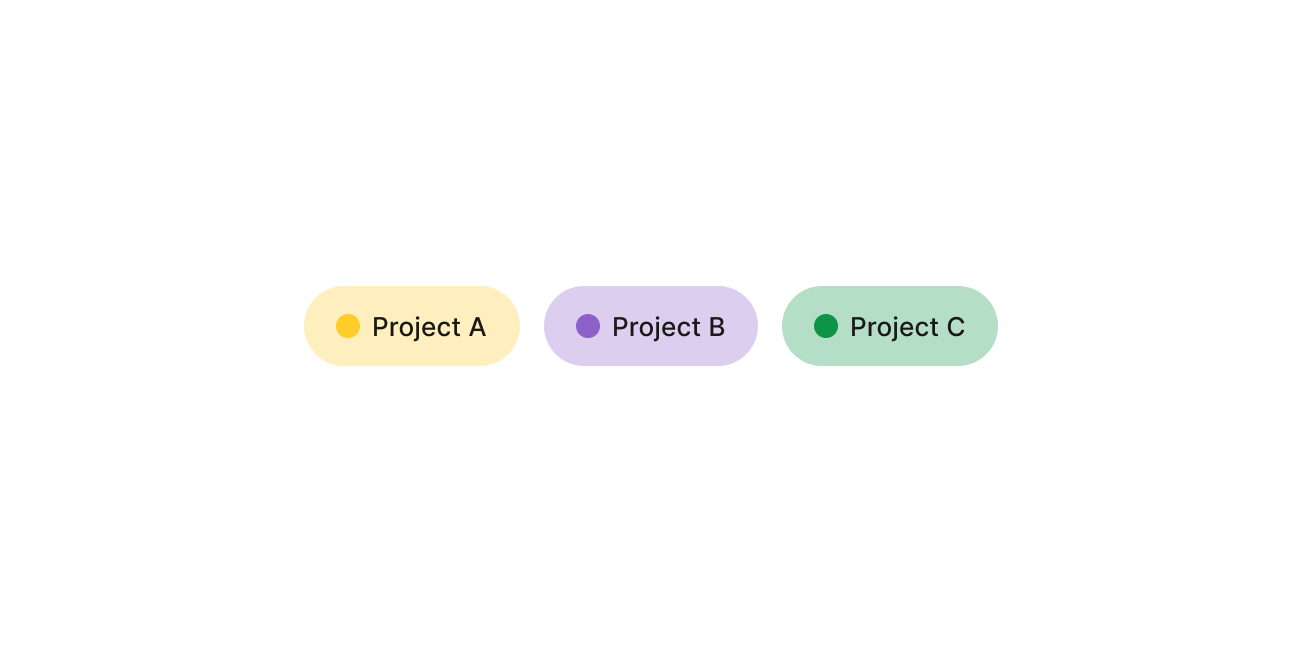
Most email clients use folders for organization, but Gmail takes a different approach by introducing labels — a powerful tagging system that enhances your email management.
In this comprehensive guide, we'll walk you through everything you need to know about Gmail labels, from creating and organizing them to supercharging your email management.
Also, stick around until the end to discover how to declutter your inbox and bid farewell to email chaos using an alternative email client.
Let's dive in.
Note: Tired of a cluttered inbox? Ready to take control and manage your email smarter?
With Tatem, your inbox becomes clear and organized. Our automatic labeling feature sorts each email into categories like purchases, travel, social, and more, so you can find what you need in seconds. No more hunting endlessly for a certain message or attachment.
Experience the latest AI technology designed to boost your productivity and lower email stress. Sign up now for Tatem and transform the way you manage email, forever.
Think of labels as digital tags you can assign to your emails to organize them better. Unlike folders, a single email can have multiple labels, ensuring that you can cross-reference messages effortlessly.
You can create custom labels to suit your needs and apply them to specific emails or conversations.
They facilitate quick decisions about an email's importance and purpose.
When you open your inbox, the presence of labels on emails can provide instant insights, helping you identify what needs your immediate attention and what can be attended to later.
Other benefits include:
Creating Gmail labels is a straightforward process. To create labels in Gmail:
Now that you have your labels, adding them to emails is essential for effective organization. Here's how you can add multiple labels to your emails:
Labeling on Android is just as easy:
When you add a label, the email stays in your primary inbox. When you move it, the email won't appear in your primary inbox.
Here's how you can move an email to a label:
Nested labels in Gmail are like creating folders within folders, helping you organize your emails in a more detailed and structured way. They make it easier to manage lots of emails without making your label list messy.
Think of parent labels as the main folders or categories. They are the top-level labels that provide a general umbrella for related content.
Let's say you run a photography business. Your parent label could be "Photography Projects." Nested under this parent label, you can have sub-labels like "Client A," "Client B," and "Personal Projects."
If you go into the nested label "Client A," you might find even more specific labels for each photo shoot, creating a clear structure that mirrors your actual workflow.
To create nested labels:
If a label is no longer valid or you've made a mistake, removing it is straightforward:
When you apply a color to a label, all emails categorized under that label will be highlighted in that specific color.
This simple visual cue helps you quickly recognize and mentally categorize different types of emails without even reading their content.
Let's say you have labels for "Work," "Personal," and "Projects." You might assign the color blue to work-related labels, green to personal ones, and orange to projects.
Now, when you glance at your inbox, you immediately know the nature of each email based on its color. It's like having a traffic light system for your emails.
Here's how to do it:
Deleting labels is a simple process:
Remember, removing a label keeps the emails in the All Mail label, as All Mail is also a label.
Merging labels involves combining two or more existing labels into a single, unified label. Instead of having scattered labels for similar topics, merging allows you to streamline and declutter your labeling system.
Here's how to merge an existing label with another label:
Gmail doesn't just stop at manual labeling, it also offers a nifty feature to make your life easier: automatic labeling.
The email client achieves automation through the creation of filters. These filters act as a set of rules that, when met, trigger the automatic application of labels.
For example, if you want emails from a specific client to be labeled as "Client A," you can create a filter that recognizes the client's email address and automatically applies the corresponding label.
Once set up, automated labeling ensures that relevant emails are neatly categorized without requiring your intervention.
This not only declutters your inbox but also ensures that important messages are readily accessible when you need them.
To set up filters:
Let's face it, Gmail wasn't designed for email productivity. It excels at delivering email messages but falls short in managing the mess of emails flooding our inboxes. There are methods to improve your Gmail productivity, but the software was not built for speed.
So, while slapping on Gmail labels might seem like a quick fix, it's like putting a band-aid on a bigger problem of email chaos and subpar email habits.
Here's where they fall short:
That said, you need a comprehensive solution that covers all the bases, helping you streamline your email chores, save time, and reduce email-related anxiety. Tatem can be this solution to deal with email overload, and we'll explain how below:
Tatem is a productivity email client designed for speed and convenience, connecting seamlessly with your email service provider to help you breeze through your inbox.
Instead of merely labeling your Gmail labels, Tatem takes email organization a step further. It features a customizable split inbox, allowing you to sort emails into different categories—an inbox for newsletters, another for subscriptions, and a primary inbox for urgent messages.
Setting rules ensures incoming emails are automatically sorted into their specific inbox.
The best part? Tatem's AI is constantly learning from you, performing various tasks without your intervention. From email sorting to smart labeling, text correction, and even drafting entire replies in your voice or any specified tone, Tatem simplifies your email experience.
Among the benefits are:
Ready to transform your email experience? Sign up today